
The right clothing design website depends on what you are designing. Adding a graphic to an existing T-shirt is a different job from developing a new garment with its own fit, fabric and construction. Both start with an image, but they need different tools to reach production.
This guide covers twelve clothing design websites and tools, from drawing the first idea to preparing a garment for production. Some run in your browser; others are desktop or iPad apps. We have included both because choosing the right design workflow matters more than where the software runs. This is a guide from Lifecycle’s team, based on our product knowledge and the other vendors’ published information.
Choose the website for the product you want to make
- A new garment: you need concepts, technical drawings and a way to specify materials, measurements and construction.
- A graphic for an existing garment: focus on artwork, typography, placement and print-file requirements.
- Print-on-demand merchandise: choose the blank product, check the available decoration method and preview the artwork on that product.
- A collection: keep designs connected to product records so colleagues can find the approved version and develop it together.
1. Lifecycle: design and develop the garment in one place
Lifecycle brings design and product development into the same workspace. You can build a visual direction, explore garment concepts with AI, draw technical flats and carry the approved design into materials, measurements and sampling. Here is what that looks like in practice.
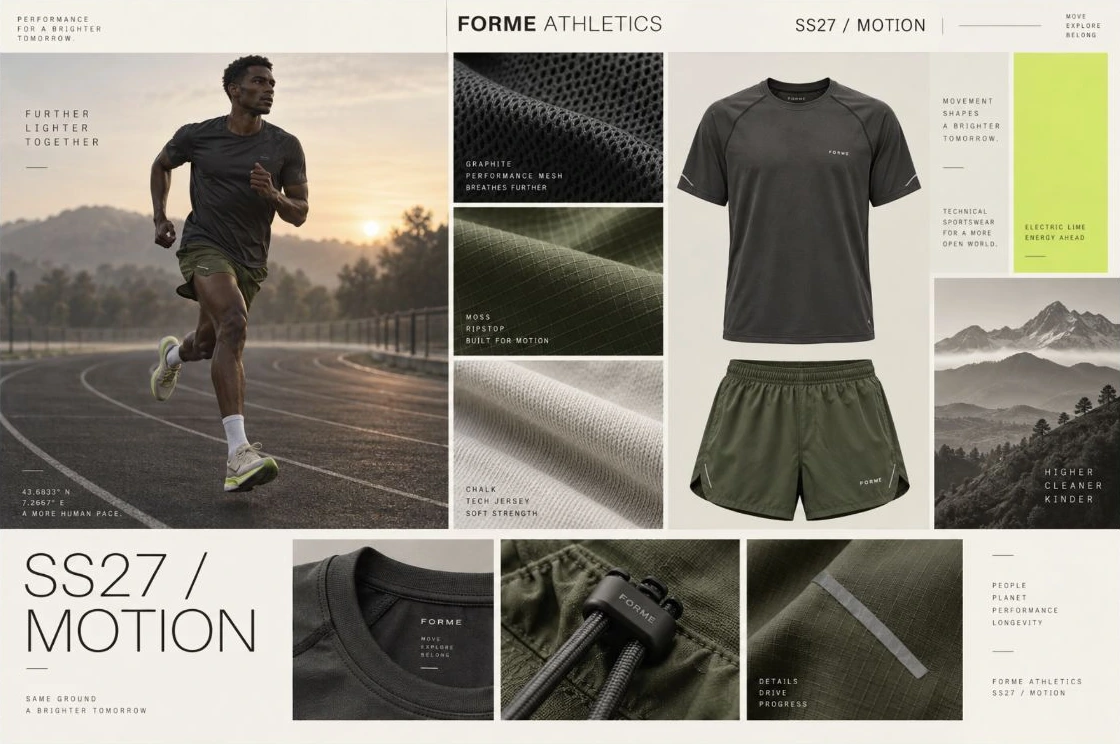
Build the collection direction in Visual Boards
Visual Boards give the team a shared canvas for reference imagery, garment concepts, fabric details and colour palettes. The SS27 example below puts the intended mood beside the actual clothing and material direction, making it easier to discuss what belongs in the collection.
Generate and refine images inside the board
The board’s AI tools include Text to Image, Sketch to Image, Technical Sketch and Photoshoots. Describe a garment concept or start from an existing sketch, then bring the output into the same visual discussion. Selected images also expose actions such as vectorising the image, removing its background or upscaling it.
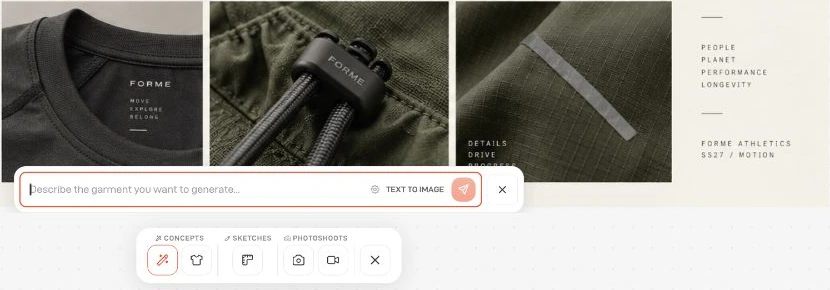
For example, explore a lightweight running jacket in your collection colours, compare the resulting shapes with the board’s direction, and develop the chosen idea. Treat AI output as a proposal: review seams, proportions and construction before turning it into instructions for a factory.
Draw editable technical flats in Vector Studio
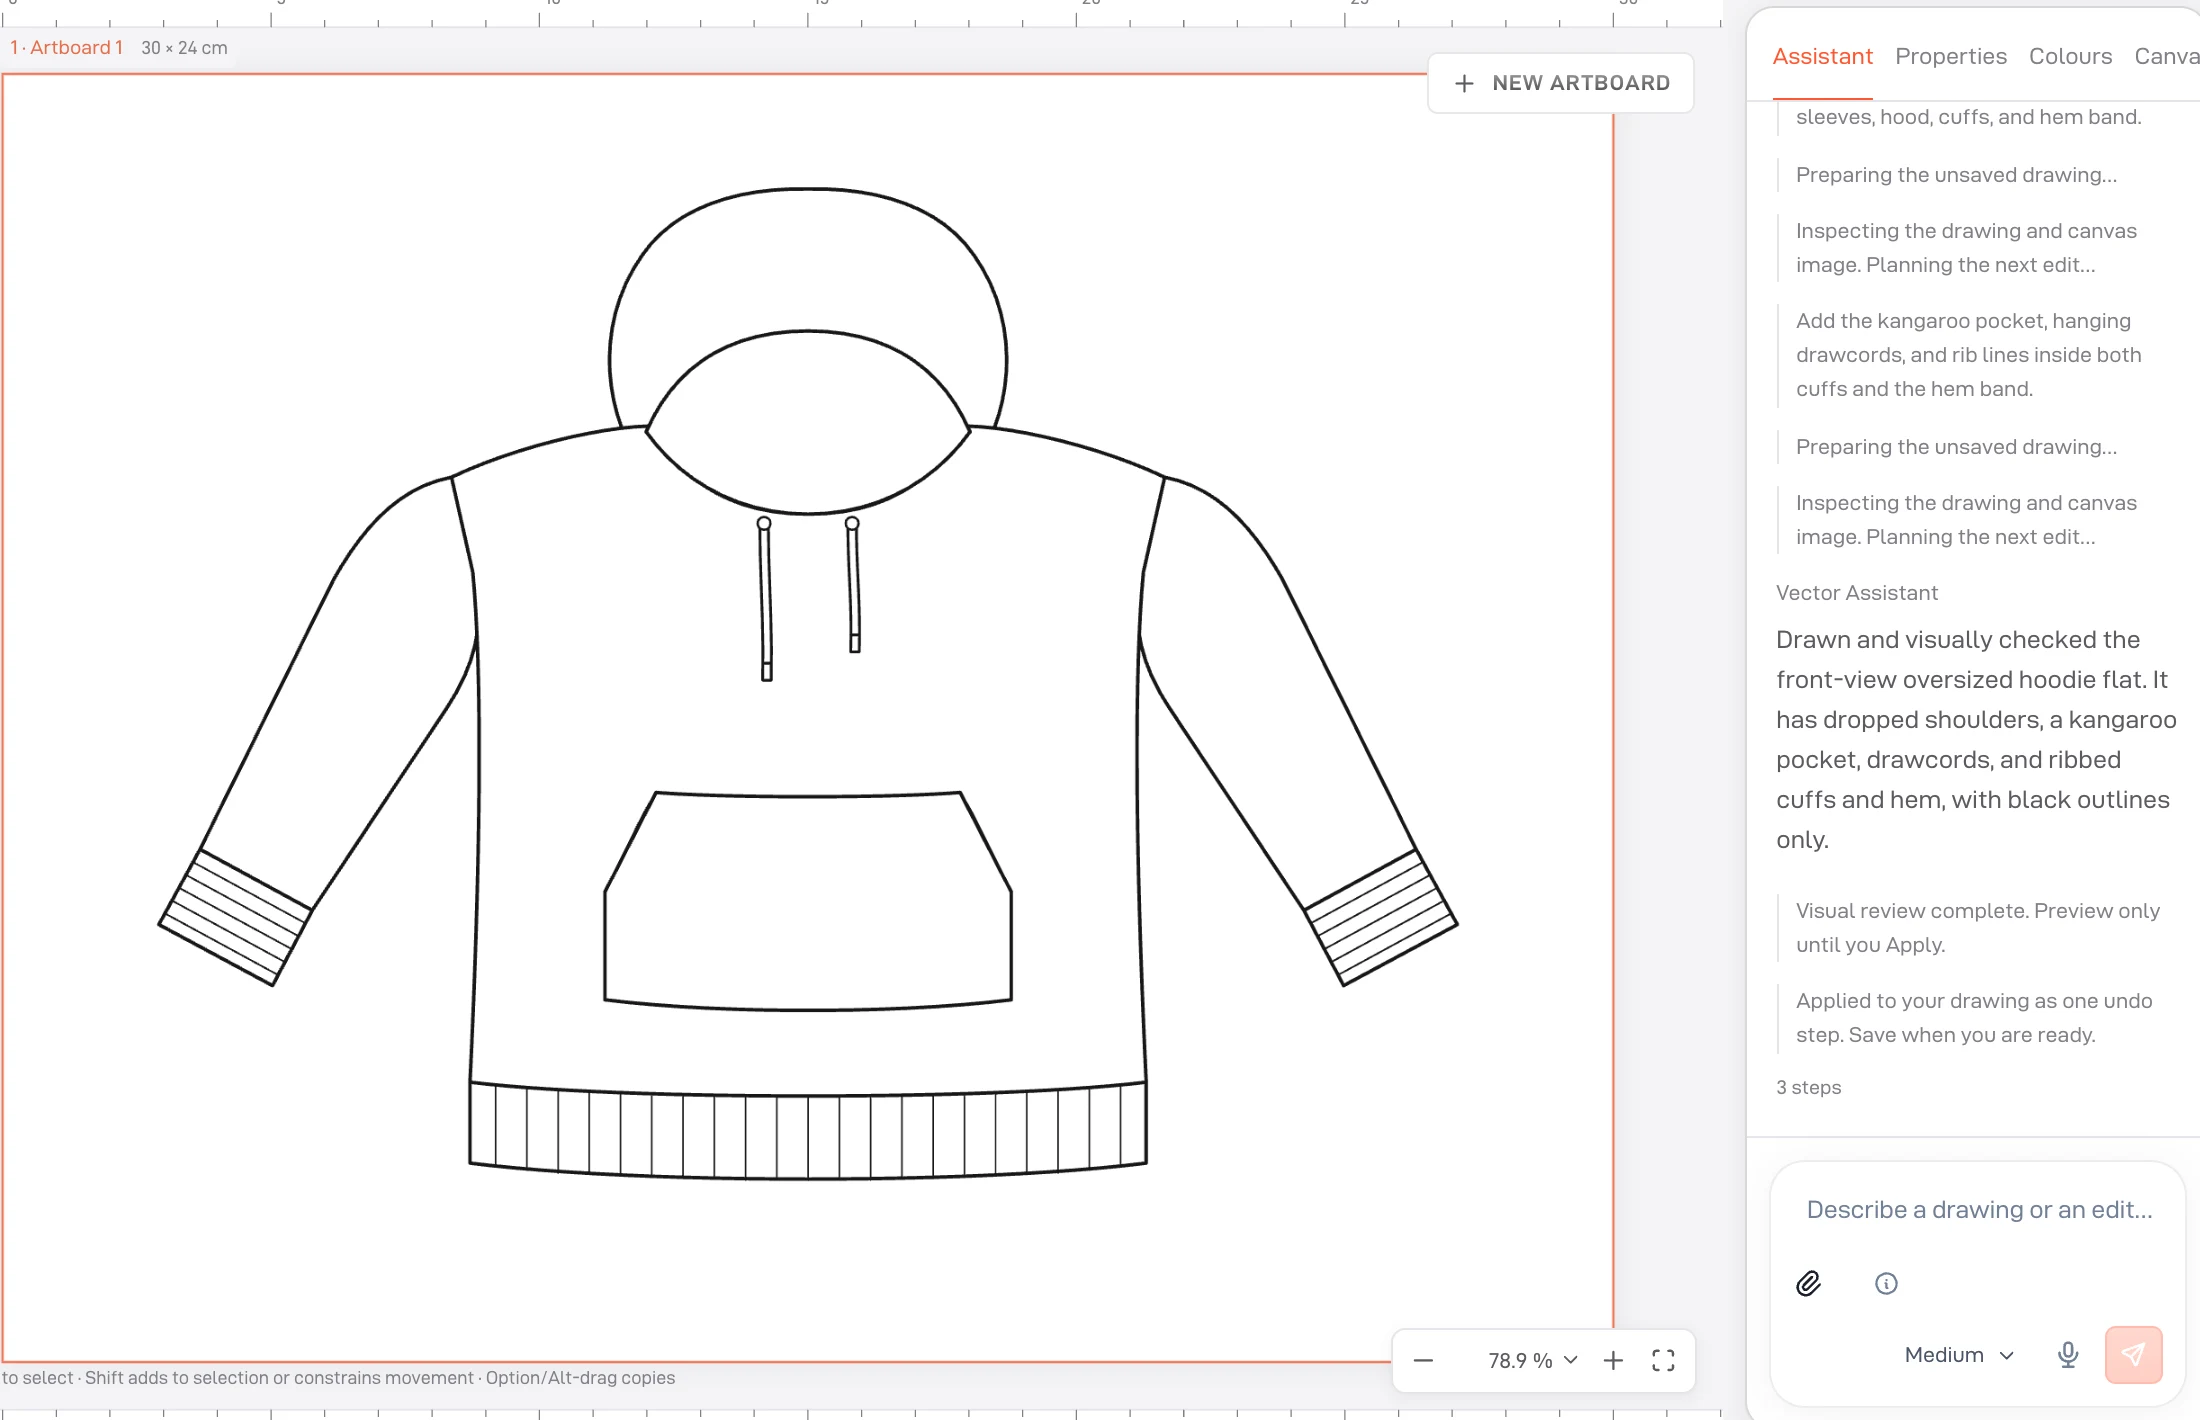
Vector Studio provides an editor for garment drawings and an AI assistant for creating or changing them. A technical flat shows the garment’s shape and construction without a model’s pose hiding the details. The example below shows a hoodie with separate construction details and an assistant alongside the drawing.
Turn the design into a product the team can develop
Create a product from the board and continue with colourways, fabrics, trims, measurements and sample history. Ask AI can help create and edit product information with your approval. Keeping the design and its specification connected gives colleagues an agreed starting point for development, rather than asking them to reconstruct it from a picture.
Choose Lifecycle when your brand needs design to continue into shared product development. For the manufacturing information that follows, read our tech-pack software guide.
2. Adobe Illustrator: technical flats and editable artwork
Adobe Illustrator is a vector drawing tool: its lines and shapes stay sharp when resized. For a clothing brand, that makes it useful for front and back technical flats, print artwork and repeat patterns. A technical flat is a drawing that shows the garment’s construction without a model’s pose obscuring the details.
For a zip hoodie, draw the pocket shape, seams, ribbed cuffs and zip placement as editable elements. Your developer can then refer to the same drawing when writing construction notes. Illustrator is primarily a drawing application, so connect the approved artwork to your shared product record rather than treating the drawing file as the entire specification.
Consider it for detailed vector drawings and print design. Test how your designer and factory will exchange editable files, fonts and final artwork. Visit Adobe Illustrator.
3. Procreate: hand-drawn garment concepts on iPad
Procreate is an iPad drawing and painting app. Brushes, layers and Apple Pencil support suit designers who want to sketch silhouettes, colour combinations and fabric textures by hand. It is a different starting point from arranging an existing T-shirt template.
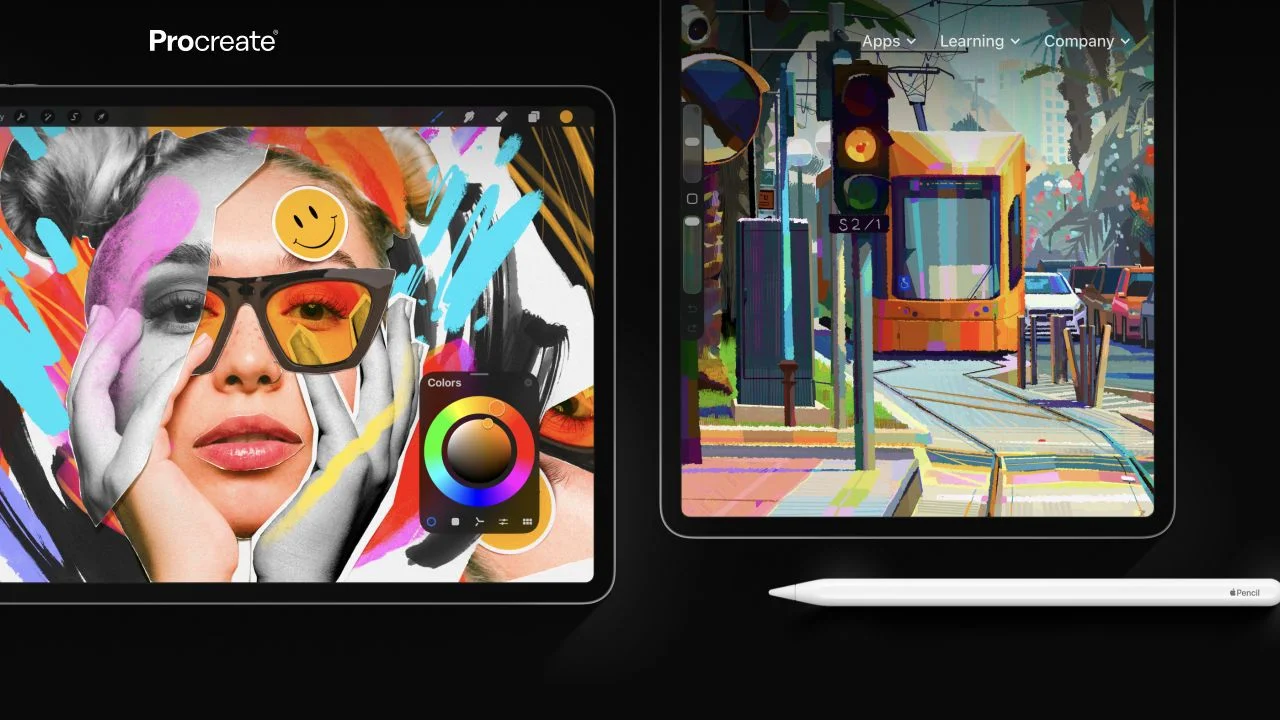
You might sketch three versions of a jacket, keeping the body shape on one layer and experimenting with pockets or colour on others. Those drawings help the team choose a direction. The chosen concept still needs clear construction drawings, measurements and materials before a supplier can make it.
Consider it for expressive concept work. Check your canvas resolution before creating artwork that will be printed at garment size. Visit Procreate.
4. CLO: develop and review garments in 3D
CLO is dedicated 3D garment-design software. It connects patterns with a garment on a digital avatar, helping designers explore shape, fabric appearance and fit. Its wider product family also includes tools for sharing and presenting those 3D assets.
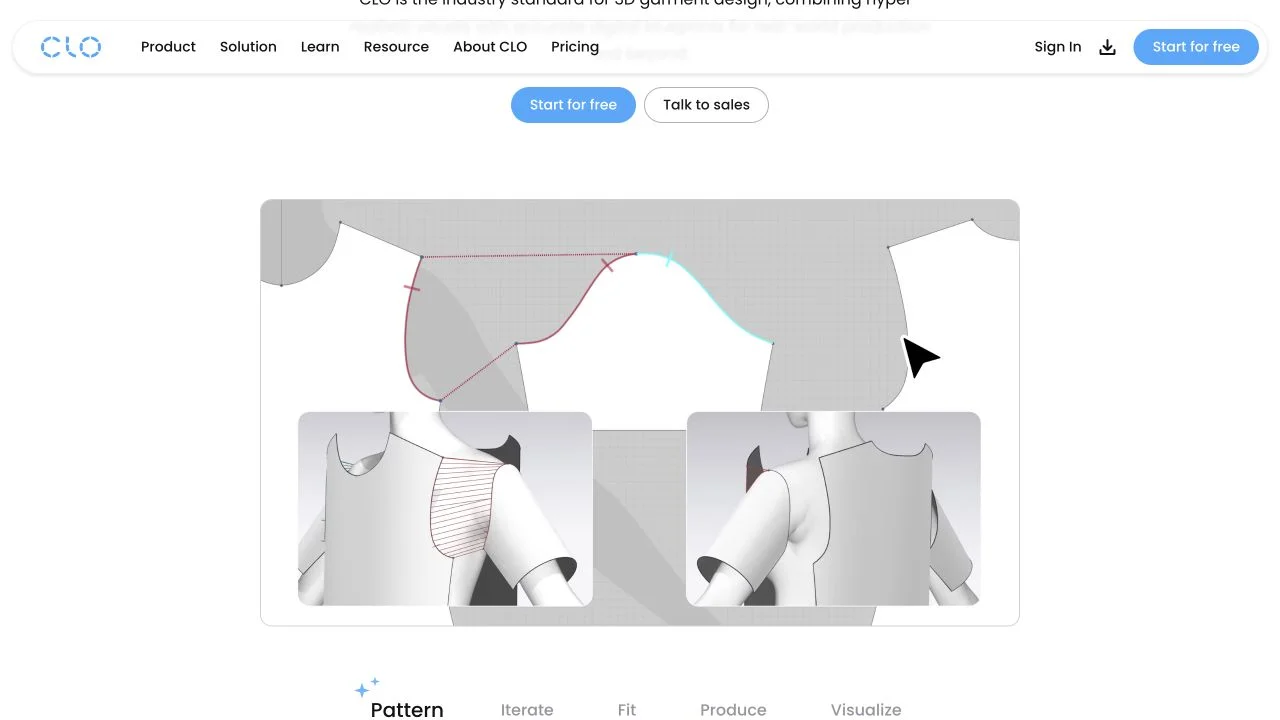
A jacket that looks convincing in a flat drawing may need a different sleeve or body shape once viewed on an avatar. A 3D workflow lets the team discuss those changes before the next physical sample. The result depends on the pattern, avatar and material inputs; a convincing render alone does not prove that the production garment will fit.
Consider it when your team needs digital garment development, not only a design image. Include training and the quality of your pattern and material data in the evaluation. Visit CLO.
5. Browzwear VStitcher: 3D garments and team review
Browzwear’s VStitcher supports 3D garment development using patterns and fabric data. Its Stylezone platform adds a place for teams to share and review collections. That makes it relevant when designers, technical developers and suppliers need to discuss the same digital garment.
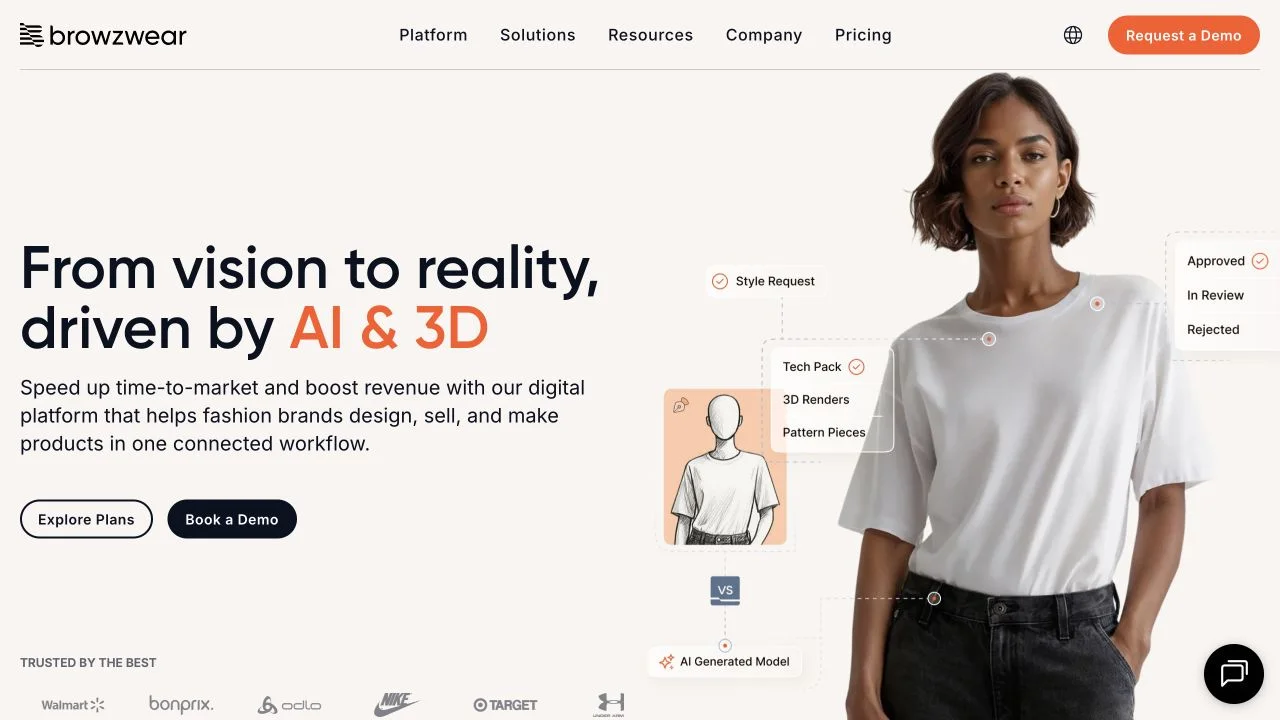
For a jacket, use the digital garment to examine its proportions and drape, then share the version being reviewed. Ask how your existing pattern files and fabric information enter that process. The usefulness of a simulation depends on those inputs and the team’s ability to interpret them. Visit Browzwear VStitcher.
6. Style3D: connected tools for 3D design and visual assets
Style3D offers a family of products covering 3D garment development, digital fabrics, collaboration and AI-generated visuals. Studio, Fabric and Cloud serve different parts of that process, so evaluate the actual combination your team needs rather than assuming everything sits in one licence.
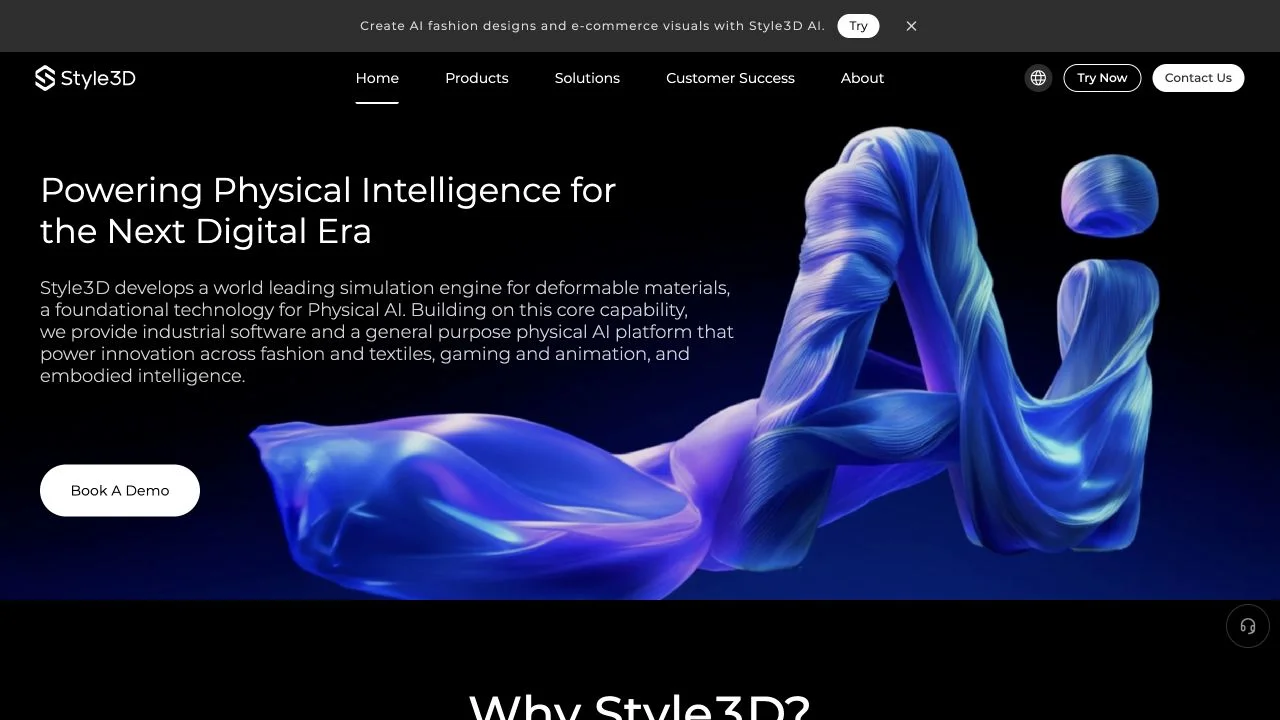
A team could develop a garment in 3D and use digital assets in collection reviews or marketing preparation. In a demo, take one of your own styles and ask the vendor to show the path from pattern and material inputs to a usable garment asset. Check which steps need specialist training. Visit Style3D.
7. TUKAcad: pattern making and grading for production
Tukatech’s TUKAcad focuses on creating and modifying patterns and grading them into different sizes. Pattern grading is the process of adjusting a base pattern for a size range. Tukatech also offers separate tools for 3D sampling and fabric optimisation.
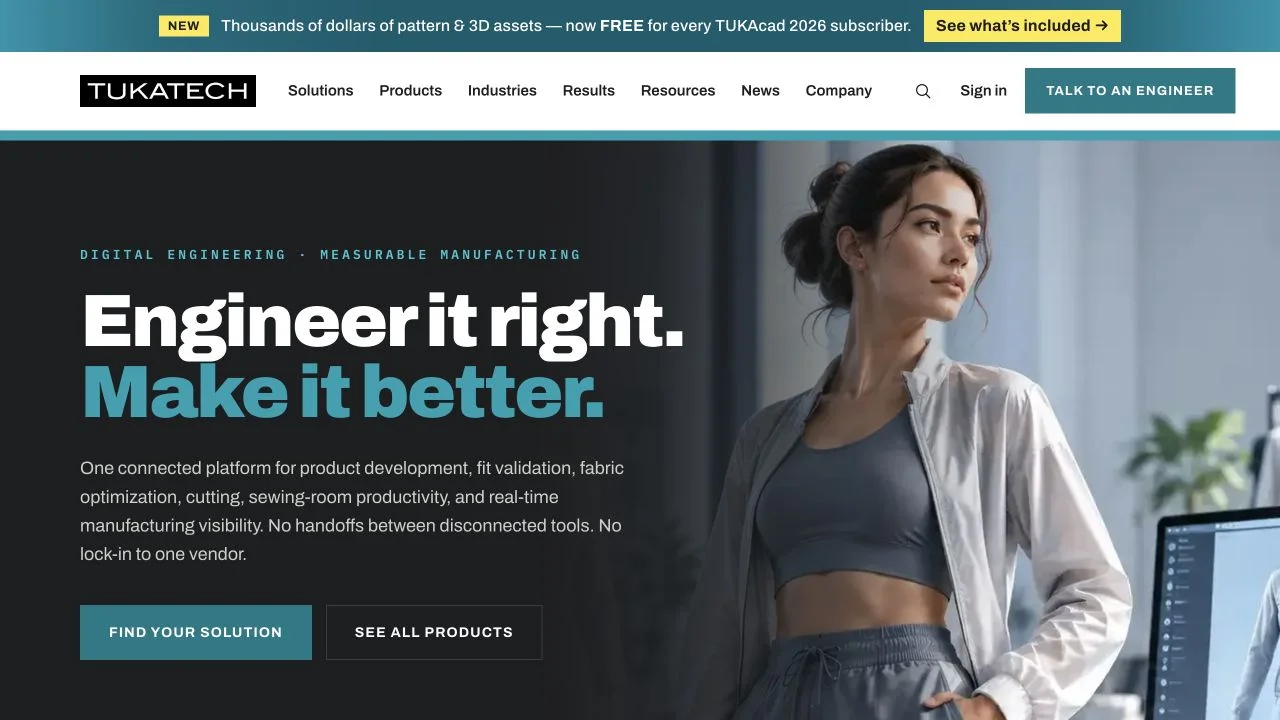
This is a specialist option for the technical work between a design and the cutting room. Ask your pattern maker to test a familiar style, including the size range and file exchange with your factory. A brand whose supplier handles all pattern work may need a way to review the results more urgently than another drafting seat. Visit TUKAcad.
8. Seamly2D: measurement-based pattern drafting
Seamly provides free, open-source apparel CAD software for drafting patterns using measurements. A pattern defines the pieces of fabric that will be cut and sewn together. That is a different output from an illustration of the finished garment.
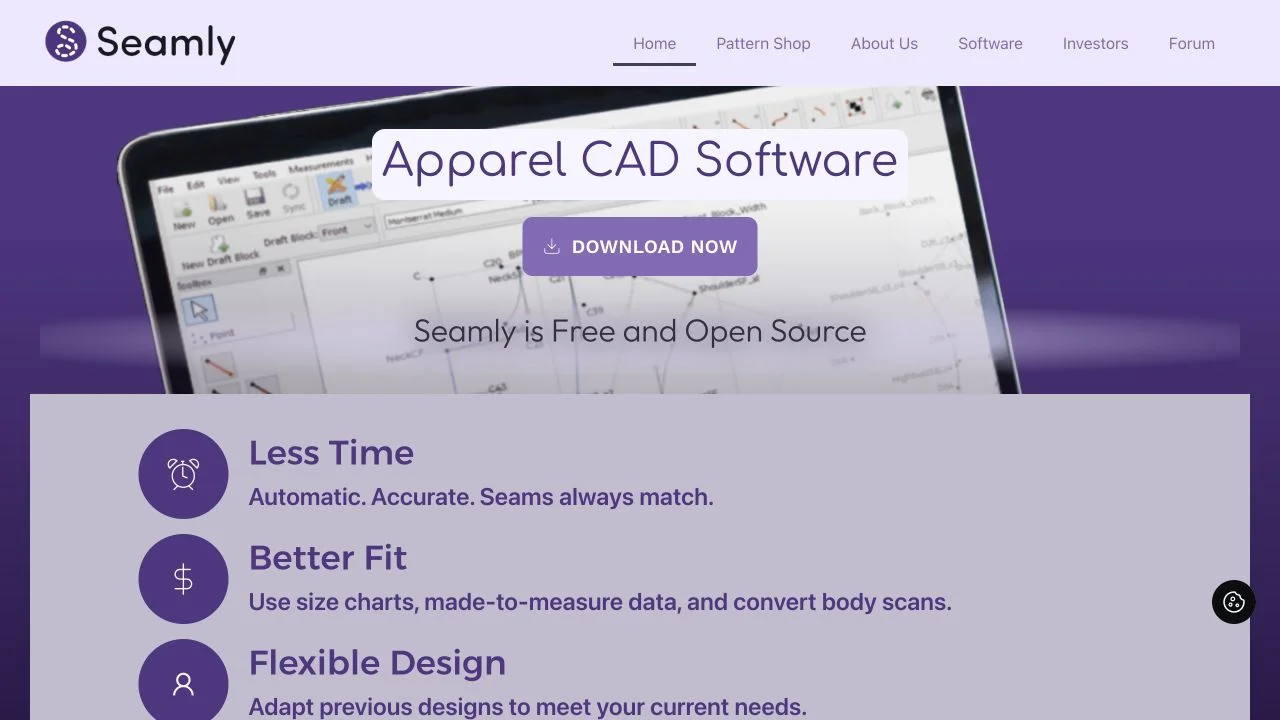
For example, a pattern maker can construct a bodice from measurements and formulas, then adapt that draft as the measurements change. This can support reusable blocks and made-to-measure work. It still requires pattern-cutting knowledge and sample checks; downloading the software does not remove those skills from the process.
Consider it for an accessible pattern-drafting workflow on a desktop. Agree with your pattern maker and manufacturer how pattern files, sizes and revisions will be delivered. Visit Seamly2D.
9. Kittl: typography and merchandise graphics
Kittl is a browser-based design tool with a T-shirt workflow covering typography, templates, mockups and print exports. It is worth considering when the artwork is the main feature of the product, such as a typographic sweatshirt or a graphic merchandise drop.
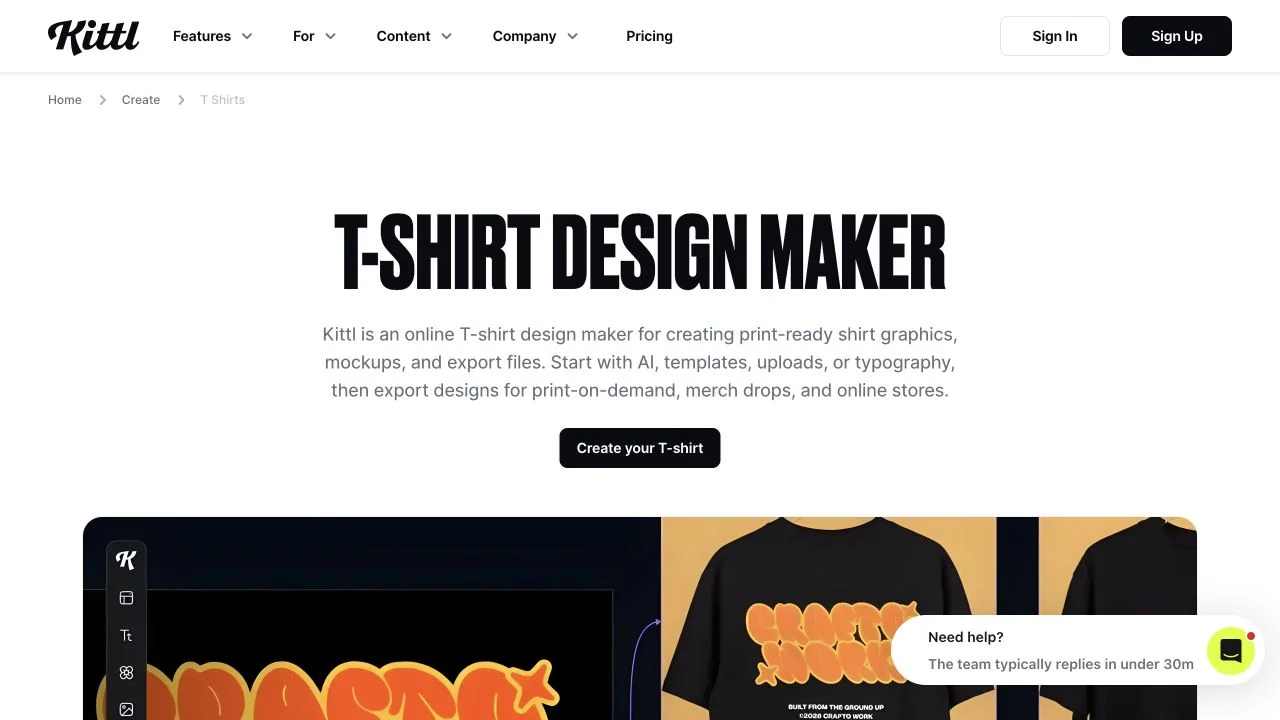
Start with the actual print brief: artwork dimensions, intended colours and the decoration method. Develop the graphic, preview its placement and check the export against the printer’s requirements. The mockup helps communicate the idea, but it does not define the underlying garment’s fit or fabric.
Consider it for graphic-led products. Check the licensing and export options for the assets and plan you intend to use. Visit Kittl.
10. Canva: quick T-shirt layouts and branded graphics
Canva’s online T-shirt editor combines templates, text and uploaded graphics. It offers a straightforward way to arrange a logo or message for an existing garment, particularly when several people need to review a simple visual concept.
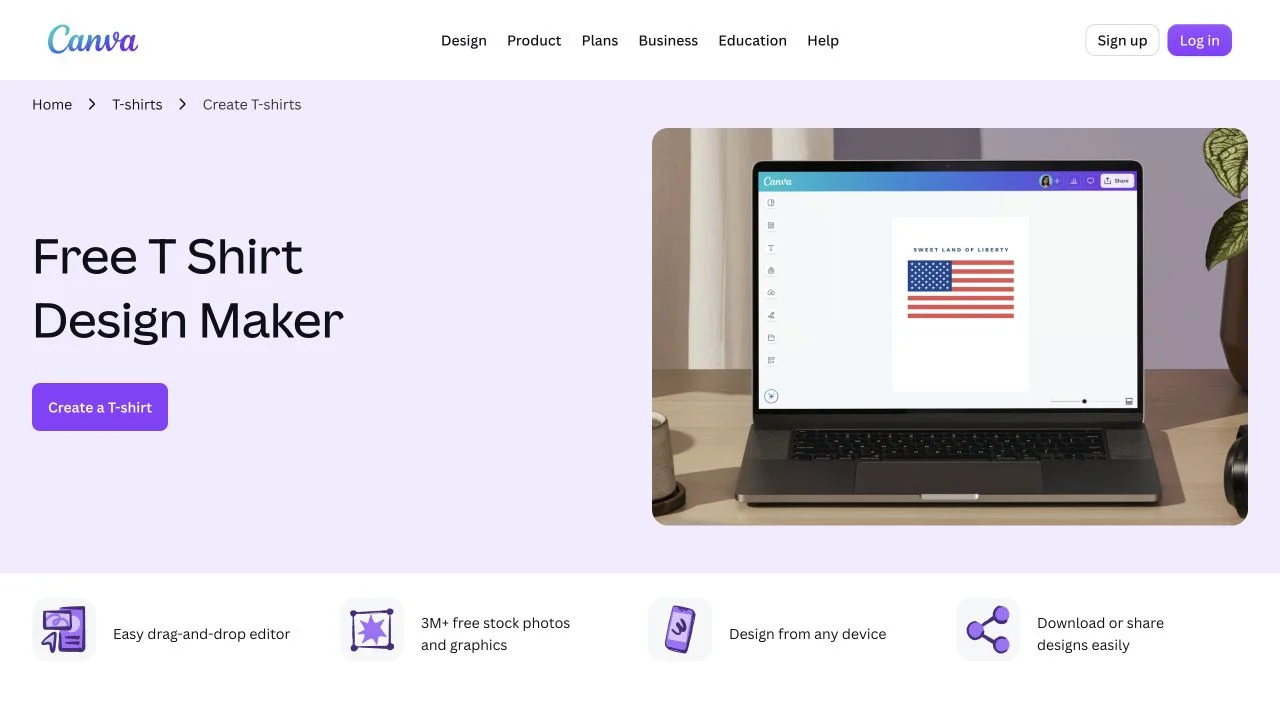
A brand could use it to explore an event shirt or a small merchandise collection. Keep the approved graphic and its placement dimensions attached to the product specification. Designing the print does not decide the shirt’s body length, sleeve shape or fabric weight.
Consider it for quick graphic layouts. Confirm that the exported file meets your printer’s requirements and that any template assets are licensed for your intended use. Visit Canva.
11. Adobe Express: quick branded clothing graphics
Adobe Express offers browser-based T-shirt templates and tools for combining text, logos and artwork. It is a lighter starting point for a branded shirt graphic than building a detailed vector drawing from scratch in Illustrator.
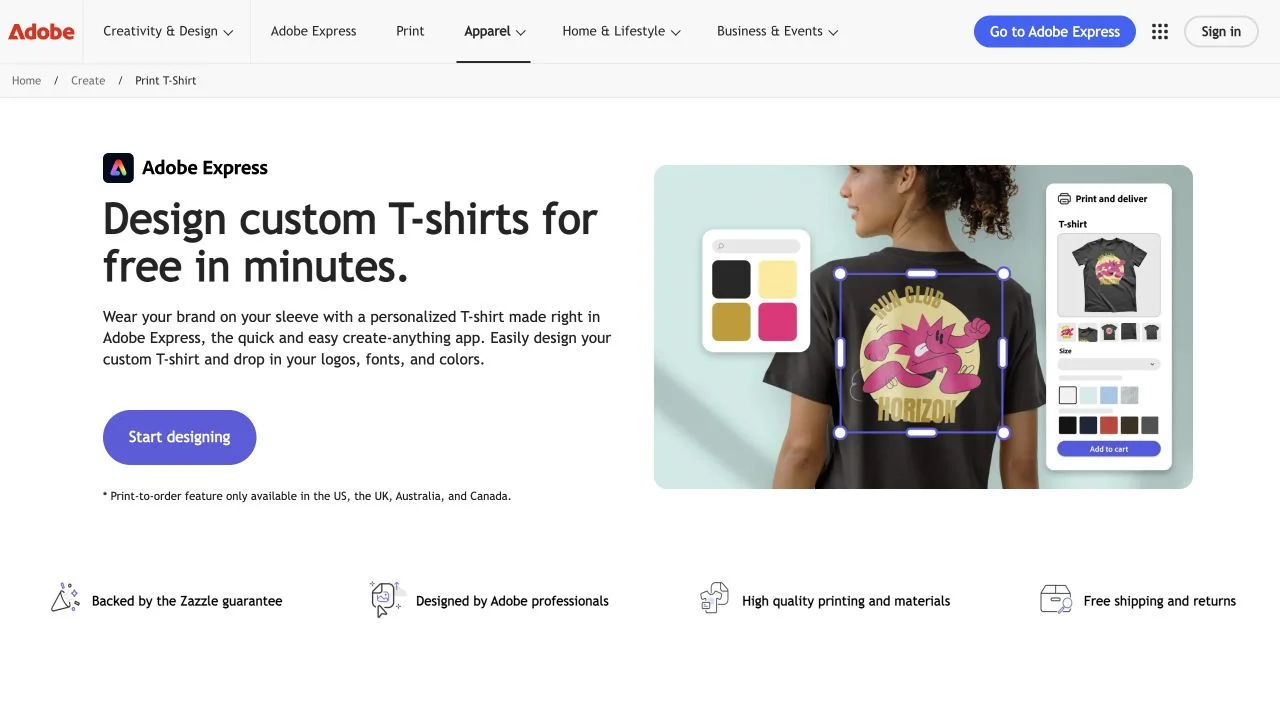
For an event shirt or merchandise concept, create the layout and review how it sits on the garment. Check image resolution, artwork rights and the printer’s export requirements before approving it. The graphic still needs placement dimensions; it does not specify a custom garment’s fabric, measurements or construction. Visit Adobe Express.
12. Printful: design on existing products and fulfil orders
Printful combines a product catalogue with its online Design Maker and print-on-demand fulfilment. You choose an available product, add artwork and use the available printing or embroidery options. That makes it a different proposition from designing a new cut-and-sew garment from scratch.
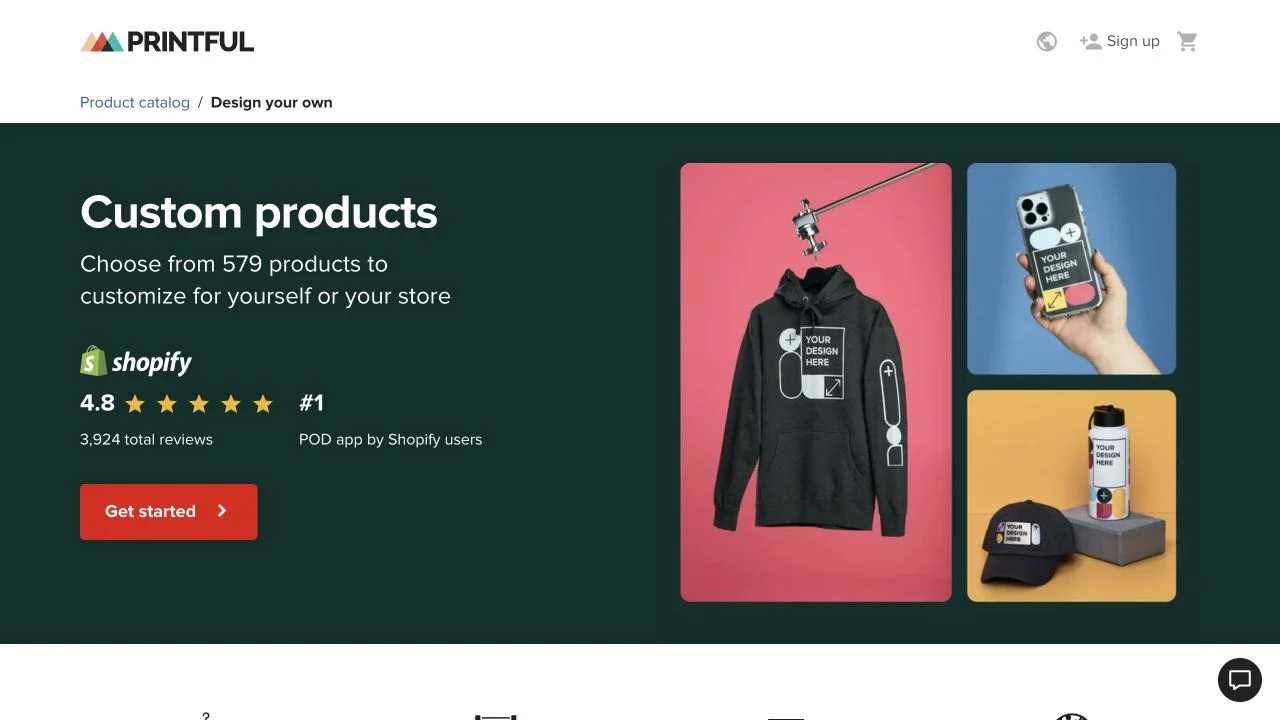
For a graphic hoodie, you can choose a catalogue style and place your artwork on it, then order a sample to inspect the fabric, decoration and fit. The catalogue product sets much of the garment specification. A brand developing its own silhouette or fabric needs a separate product-development process.
Consider it for testing merchandise or selling decorated catalogue products. Compare the physical sample and delivered unit cost before deciding whether it suits your range. Visit Printful.
What should a clothing design website let you keep?
Before committing, finish one realistic design and follow it out of the editor. The useful question is what the next person receives.
- Editable artwork and a suitable export, with the version clearly identified.
- The exact garment or blank product the design belongs to.
- Artwork placement, dimensions and colour instructions.
- For an original garment, technical drawings, material details and measurements.
- A shared record of the approved design and changes requested after sampling.
From a design image to a factory-ready tech pack
A tech pack explains how to make the garment. It usually combines technical drawings, a bill of materials, measurement charts, construction details and artwork instructions. The bill of materials lists the fabric, trims and other components; the measurement chart gives the sizes the factory must work to.
For the hoodie example, “make it oversized” is not enough. Specify the chest width, body length and sleeve length, identify the fabric and zip, and explain the rib at the cuffs and hem. When the sample arrives, compare it with those requirements and record the changes on the product. Our sample-management guide explains that review.
For a growing fashion brand, this is why we recommend connecting design and development early. The range may be small, but people still need the same approved information. Lifecycle keeps that information with the product as it moves from concept to tech pack and sample.